GE Induction Cooktop Manual: A Comprehensive Guide
This manual details safety instructions‚ installation‚ operation‚ and troubleshooting for your GE induction cooktop‚ ensuring optimal performance and longevity.
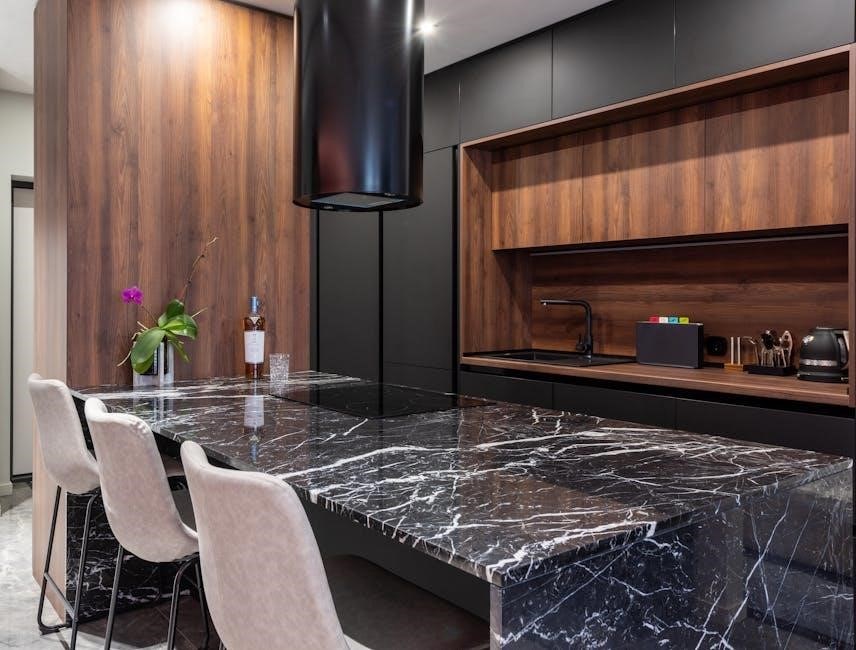
Understanding Your GE Induction Cooktop
GE induction cooktops utilize electromagnetic energy to directly heat cookware‚ offering rapid heating and precise temperature control. Unlike traditional cooktops‚ the surface remains relatively cool‚ enhancing safety. This manual provides essential information regarding features‚ controls‚ and proper usage. Familiarize yourself with the control panel‚ power levels‚ and timer functions. Understanding compatible cookware is crucial for optimal performance; magnetic-bottomed pots and pans are required. Proper installation and adherence to safety instructions are paramount for safe operation.
Safety Instructions & Warnings
Important safety precautions must be followed during installation and operation. Ensure proper electrical connection and grounding to prevent shock hazards. Never allow anyone to climb or stand on the cooktop. Avoid using damaged cookware or allowing flammable materials near the surface. Read and save all instructions. This appliance is not intended for use by individuals with reduced physical‚ sensory‚ or mental capabilities without supervision. Always supervise children around the cooktop to prevent burns.
General Safety Precautions
Always disconnect power before cleaning or maintenance. Do not operate the cooktop with a damaged cord or plug. Avoid using extension cords. Ensure adequate ventilation during operation. Never leave the cooktop unattended while in use. Keep the area around the cooktop clear of flammable materials. Do not use abrasive cleaners‚ as they can damage the glass surface. Supervise children closely when the cooktop is in operation to prevent accidental burns.
Electrical Connection Requirements
Proper electrical connection is crucial for safe operation. This cooktop requires a dedicated 240V‚ 60Hz electrical circuit. A qualified technician must perform the installation‚ adhering to local electrical codes. Ensure the circuit breaker is appropriately sized for the cooktop’s wattage. Grounding is essential; never connect to a non-grounded outlet. Verify voltage matches the appliance’s specifications before connecting. Incorrect wiring can cause fire or electric shock.
Important Grounding Instructions
This cooktop must be grounded for safety. A grounding wire connects the appliance’s chassis to the earth‚ preventing electric shock. Never ground by attaching to plumbing pipes. Improper grounding voids the warranty and increases risk. A qualified electrician should verify proper grounding during installation. Do not alter the plug; if it doesn’t fit‚ have a suitable outlet installed. Grounding ensures safe operation and protects against electrical hazards.
Cooktop Features & Controls
GE induction cooktops offer precise temperature control and rapid heating. The control panel features intuitive touch controls for power levels‚ timers‚ and special functions. Power level settings range from low simmer to high heat. Utilize the timer & delay start functions for convenient cooking. Explore features like bridge elements and power boost for versatile cooking experiences. Familiarize yourself with these controls for optimal performance.
Control Panel Overview
The control panel utilizes touch-sensitive controls for effortless operation. Icons clearly indicate functions like power levels‚ timers‚ and special features. A digital display shows selected settings and remaining cook times. Power level adjustments are made via “+” and “-” buttons. The lock control function is activated with a dedicated icon. Familiarize yourself with each icon and button to maximize your GE induction cooktop experience.
Power Level Settings Explained
GE induction cooktops offer precise power level control‚ ranging from low simmer to high-heat boiling. Lower settings (1-4) are ideal for delicate sauces and melting. Medium settings (5-7) suit everyday cooking like sautéing and frying. Higher settings (8-10) deliver rapid heating for boiling water or searing meats. Adjusting the power level instantly responds‚ providing efficient and consistent cooking results. Experiment to find the optimal setting for each recipe.
Timer & Delay Start Functions
GE induction cooktops feature versatile timer and delay start options. The timer allows you to set a cooking duration‚ automatically shutting off the element when complete. The delay start function lets you program a cooking start time‚ offering convenient meal preparation. Utilize these features for precise cooking and schedule flexibility. Refer to the control panel instructions for detailed programming steps and ensure proper settings before activating.
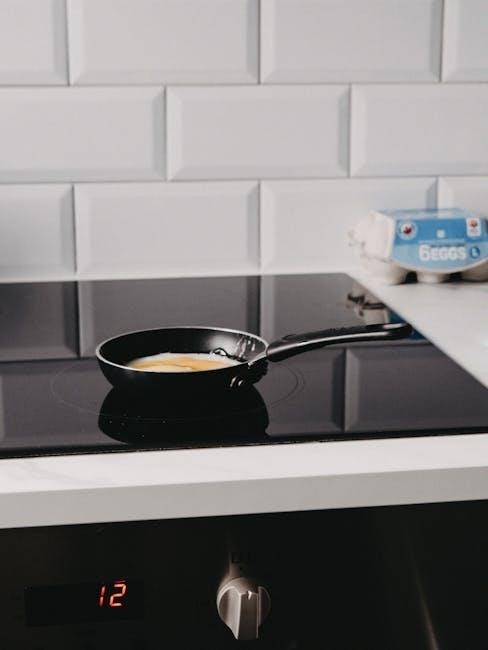
Using Your Induction Cooktop
GE induction cooktops demand compatible cookware for efficient heating; ensure pots and pans have a magnetic base. Initial setup involves verifying proper electrical connection and familiarizing yourself with the control panel. Employ recommended cooking techniques – start with medium heat‚ adjusting as needed. Always prioritize safety‚ keeping the surface clean and free of obstructions for optimal performance and longevity.
Compatible Cookware Guide
GE induction cooktops require cookware with a magnetic base – cast iron and many stainless-steel pots and pans work well. To test‚ if a magnet firmly attaches to the bottom‚ it’s likely compatible. Aluminum‚ copper‚ and glass cookware won’t function without a special magnetic adapter plate. Always check manufacturer guidelines for suitability‚ ensuring even heating and optimal cooking results. Using incorrect cookware will prevent heating.
Initial Cooktop Setup
Before first use‚ thoroughly clean the cooktop surface with a soft cloth and mild detergent to remove any residue from manufacturing. Ensure the cooktop is properly connected to a dedicated‚ grounded electrical circuit‚ following installation guidelines. Familiarize yourself with the control panel layout and functions. Perform a brief test run with compatible cookware to verify proper operation before cooking a full meal.
Recommended Cooking Techniques
For optimal results‚ preheat the cooktop surface briefly before adding food. Utilize appropriate power levels – lower settings for simmering‚ higher for boiling. Avoid sliding cookware across the surface to prevent scratches. When sautéing‚ add oil to the pan before heating. Regularly check food to prevent sticking‚ as induction heats quickly. Experiment with the Power Boost feature for rapid heating when needed‚ and always use compatible cookware.
Cleaning & Maintenance
Regular cleaning preserves your GE induction cooktop’s performance and appearance. After each use‚ allow the surface to cool‚ then wipe with a soft cloth and mild detergent. For stubborn stains‚ use a specialized cooktop cleaner‚ following product instructions carefully. Avoid abrasive cleaners‚ which can cause scratches. Ensure the ventilation fan (if equipped) remains free of debris for efficient operation. Consistent maintenance extends the lifespan of your appliance.
Daily Cleaning Procedures
To maintain your GE induction cooktop‚ daily cleaning is essential. After each use‚ and once cooled‚ wipe the glass surface with a soft‚ damp cloth and mild dish soap. Remove any food spills promptly to prevent buildup. Rinse thoroughly with a clean‚ damp cloth and dry with a soft towel. Avoid abrasive pads or cleaners‚ as they can scratch the surface. This simple routine ensures a sparkling clean cooktop.
Removing Stubborn Stains
For persistent stains on your GE induction cooktop‚ utilize a specialized ceramic cooktop cleaner. Apply a small amount to the cooled surface and gently rub with a non-abrasive cleaning pad‚ following the cleaner’s instructions. Afterwards‚ wipe clean with a damp cloth and dry thoroughly. Avoid harsh chemicals or scouring powders‚ which can damage the glass. Repeat if necessary‚ but always test in an inconspicuous area first.
Cleaning the Ventilation Fan (if applicable)
If your GE induction cooktop features a ventilation fan‚ regular cleaning is crucial. First‚ disconnect power to the cooktop. Remove the fan filter (consult your model’s specific instructions). Wash the filter with warm‚ soapy water‚ or in a dishwasher if it’s dishwasher-safe. Wipe down the fan housing with a damp cloth. Ensure all parts are completely dry before reassembling and restoring power.
Troubleshooting Common Issues
If your cooktop isn’t turning on‚ check the power supply and circuit breaker. Error codes indicate specific problems – consult the manual for their meanings. If a pan isn’t heating‚ ensure it’s compatible with induction and properly centered on the burner. Verify the power level is appropriately set. A qualified technician should address persistent issues; do not attempt complex repairs yourself.
Cooktop Not Turning On
If the cooktop fails to power on‚ first verify the power cord is securely plugged into a functioning outlet. Check your home’s circuit breaker or fuse box to ensure the circuit hasn’t tripped or blown. Confirm the control panel is not locked. If issues persist‚ disconnect the appliance and contact a qualified technician for assistance; do not attempt self-repair.
Error Codes & Their Meanings
Specific error codes displayed on the cooktop’s control panel indicate various issues. Consult the detailed error code list within this manual to diagnose the problem. Common codes relate to sensor malfunctions‚ improper cookware‚ or internal component failures. Note the code‚ then attempt a reset; if the error recurs‚ record it before contacting GE customer service for support and potential repair options.

Pan Not Heating Properly
If your pan isn’t heating‚ first verify it’s induction-compatible cookware. Ensure the pan base is clean‚ flat‚ and makes full contact with the cooktop surface. Check the power level setting; a lower setting may result in slower heating. Confirm the correct burner size matches the pan’s diameter. If issues persist‚ try a different pan to isolate the problem.
Advanced Features & Settings
Explore enhanced cooking with features like the Bridge Element‚ connecting two burners for larger cookware. Utilize the Power Boost function for rapid heating when needed. Activate the Lock Control function to prevent accidental operation‚ especially important with children. These settings offer greater flexibility and control‚ optimizing your induction cooktop experience for diverse culinary tasks and safety.
Bridge Element Functionality
The Bridge Element allows you to combine two adjacent heating elements into a single‚ larger cooking surface. This is ideal for use with oversized or unusually shaped cookware‚ such as griddles or long roasting pans. Simply activate the bridge function on the control panel‚ and the selected elements will operate as one‚ providing consistent heat distribution across the entire surface.
Power Boost Feature
The Power Boost feature delivers maximum power to a selected element for rapid heating. This is particularly useful when you need to quickly boil water or bring a pot to a high temperature. Activate Power Boost via the control panel; the element will operate at its highest wattage for a limited time. Use caution‚ as cookware can heat up very quickly with this function enabled.
Lock Control Function
The Lock Control function disables the cooktop’s controls‚ preventing accidental activation or changes to settings. This is especially helpful when children are present. To activate‚ press and hold the Lock icon on the control panel for a few seconds. The indicator light will illuminate‚ confirming the lock. Repeat to unlock. Ensure the cooktop is cool before locking.
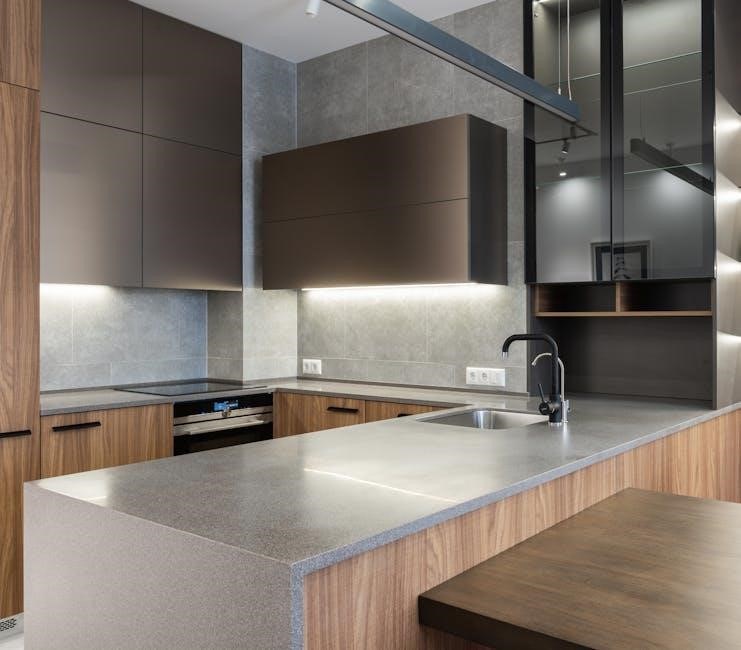
Installation Guidelines
Proper installation is crucial for safe and efficient operation. Begin with careful countertop preparation‚ ensuring it’s level and can support the cooktop’s weight. Electrical connection details require a qualified technician‚ adhering to local codes. Securely fasten the cooktop to the countertop using the provided mounting brackets and following the detailed instructions. Verify proper grounding for safety.
Countertop Preparation
Before installation‚ ensure your countertop is level‚ stable‚ and constructed of a heat-resistant material. Verify adequate space around the cooktop for ventilation‚ as specified in the manual. Cut a precise opening according to the cooktop’s dimensions. Seal the countertop edges to prevent moisture damage. Confirm the countertop can bear the appliance’s weight safely.
Electrical Connection Details
A dedicated electrical circuit is required for optimal cooktop performance. Ensure the voltage and wattage match the appliance’s specifications – consult the manual. A qualified electrician must perform the connection‚ adhering to local codes. Proper grounding is crucial for safety; follow instructions carefully. Use appropriately sized wiring and a suitable breaker.
Securing the Cooktop to the Counter
After electrical connection‚ carefully lower the cooktop into the countertop opening. Ensure a snug fit and alignment. Utilize the provided mounting brackets and clips‚ securing them firmly to the underside of the countertop. Apply a bead of silicone sealant around the cooktop’s perimeter to prevent moisture intrusion. Double-check stability before use‚ following all instructions in the manual.
Technical Specifications
This GE induction cooktop requires specific voltage and wattage‚ detailed in the manual and on the appliance’s data plate. Dimensions and weight vary by model; consult your specific model number for accurate measurements. Locate the model and serial number tag—typically on the underside or rear of the unit—for support and warranty claims. Refer to the manual for complete details.
Voltage & Wattage Requirements
Your GE induction cooktop typically operates on a standard 120V or 240V electrical supply‚ depending on the model. Wattage requirements vary significantly‚ ranging from 1500W to 3600W or higher for simultaneous element use. Always verify your home’s electrical system can support the cooktop’s demands. Incorrect voltage or insufficient wattage can cause malfunctions or damage; consult a qualified electrician.
Dimensions & Weight
GE induction cooktops come in various sizes to fit standard countertop openings. Typical widths range from 24 to 36 inches‚ with depths around 20-21 inches. Precise dimensions are crucial for a proper fit; consult your model’s specifications. Weight generally falls between 20 to 35 pounds‚ depending on the size and features. Accurate weight is important for safe installation and countertop support.
Model Number & Serial Number Location
Locating your GE induction cooktop’s model and serial number is essential for warranty claims and service requests. Typically‚ these numbers are found on a label affixed to the underside of the cooktop. You may need to carefully lift or tilt the unit to access this information. Record these numbers in a safe place for future reference‚ ensuring efficient support.
Warranty Information

Your GE induction cooktop is covered by a limited warranty against manufacturing defects. Coverage details‚ including the duration and specific components protected‚ are outlined in the separate warranty document included with your appliance; To initiate a claim process‚ contact GE Customer Service with your model and serial number. Note limitations and exclusions apply; review the full warranty for complete terms.
Coverage Details
The GE warranty covers defects in materials and workmanship for one year from the date of original purchase. This includes components that fail during normal household use. The warranty excludes damage from misuse‚ improper installation‚ or commercial applications. Labor costs for repairs may be covered during the first year‚ depending on the specific terms. See the full warranty document for complete coverage details.

Claim Process
To initiate a warranty claim‚ contact GE Customer Service with your model and serial number‚ proof of purchase‚ and a detailed description of the issue. A GE authorized service technician may be dispatched to diagnose the problem. If covered under warranty‚ repairs will be performed or the component replaced at GE’s discretion. Keep all documentation related to the claim for your records.
Limitations & Exclusions
The warranty does not cover damage from misuse‚ accident‚ alteration‚ improper installation‚ or commercial use. Cosmetic damage‚ normal wear and tear‚ and issues resulting from improper cleaning are also excluded. GE is not liable for consequential or incidental damages. This warranty is void if the appliance is serviced by an unauthorized technician. Modifications or repairs not approved by GE will invalidate the warranty.

Radio Frequency Interference (RFI)
Induction cooktops can generate RFI‚ potentially affecting nearby electronic devices like radios or televisions. Understanding this impact is crucial for minimizing interference. Proper grounding and adherence to installation guidelines help reduce RFI. If issues arise‚ try relocating the affected device or using shielded cables. GE strives to minimize RFI‚ but complete elimination isn’t always possible due to varying device sensitivities.
Understanding RFI & Its Impact
Radio Frequency Interference (RFI) occurs when your induction cooktop emits electromagnetic energy‚ disrupting other electronics. This impact can manifest as static on radios‚ distorted TV pictures‚ or interference with wireless devices. The strength of RFI depends on cooktop power and proximity to susceptible equipment. Proper installation‚ grounding‚ and shielded cables can significantly lessen these effects‚ ensuring a harmonious electronic environment.
Minimizing RFI Issues
To minimize RFI‚ ensure your GE induction cooktop is correctly grounded‚ following all installation instructions. Utilize shielded cables for nearby electronic devices. Maintain distance between the cooktop and radios‚ televisions‚ or wireless routers. If interference persists‚ try operating the cooktop at a lower power setting. A qualified technician can further assess and address persistent RFI concerns‚ optimizing performance and reducing disruptions.
GE Parts System & Support
GE offers extensive support and access to Genuine Parts‚ with a catalog exceeding 47‚000 items. Locate parts through the GE parts system online or by contacting GE Customer Service. For assistance with repairs or part identification‚ knowledgeable representatives are available to guide you. Ensure optimal cooktop performance and longevity by utilizing authentic GE replacement components and expert support services.
Accessing GE Genuine Parts
GE Genuine Parts ensure optimal performance and safety for your induction cooktop. Access these parts through the official GE website‚ authorized appliance parts retailers‚ or by contacting GE Customer Service directly. Utilizing authentic components maintains warranty validity and guarantees compatibility. Avoid using non-genuine parts‚ as they may compromise functionality and potentially damage your appliance. Prioritize quality and reliability with GE.
Contacting GE Customer Service
For assistance with your GE induction cooktop‚ reach out to GE Customer Service via phone‚ online chat‚ or through the GE Appliances website. Expert support is available to address troubleshooting‚ warranty claims‚ and parts inquiries. Have your model and serial number ready for efficient service. Dedicated representatives can guide you through operational questions and resolve any concerns‚ ensuring a seamless ownership experience.